If you’re looking to turn off a VPN on your iPhone, here’s the quickest way to do it:
- Disable via Settings:
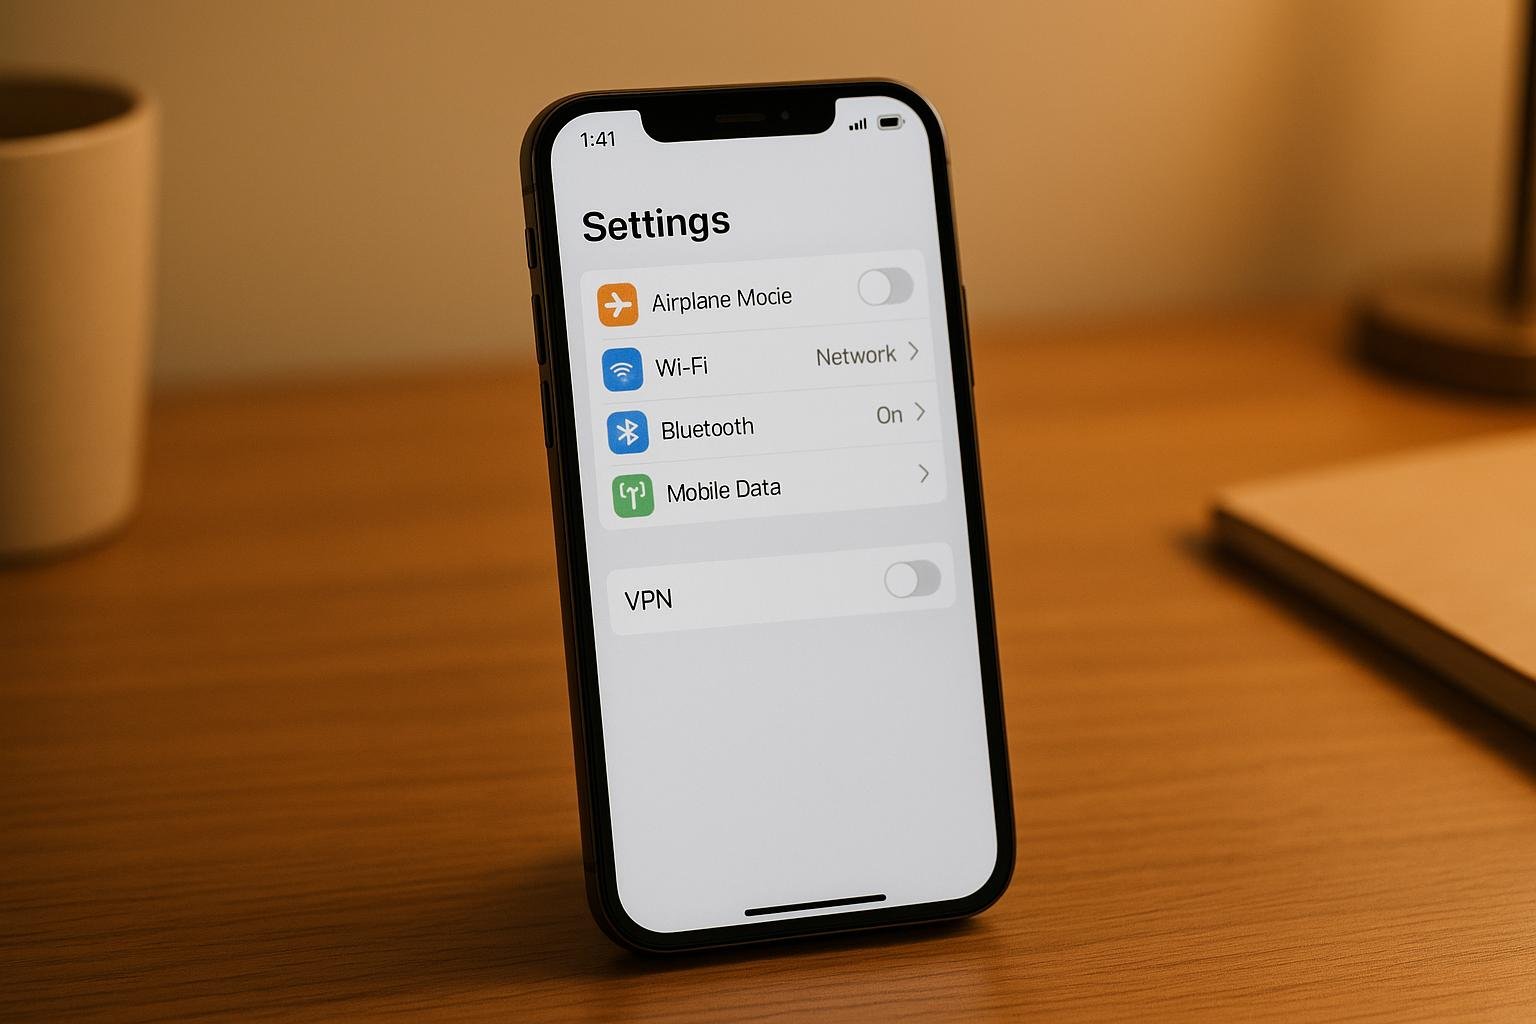
- Open the Settings app.
- Navigate to VPN or General > VPN & Device Management > VPN.
- Toggle the VPN switch to “Off.”
- Disable via Third-Party Apps:
- Open the VPN app you’re using.
- Locate the disconnect button (usually on the main screen).
- Tap to turn off the VPN connection.
- Prevent Auto-Reconnect:
- In Settings > VPN, tap the “i” next to the VPN profile.
- Turn off Connect On Demand to stop automatic reconnections.
If you no longer need a VPN, you can delete its profile by visiting Settings > General > VPN & Device Management, selecting the profile, and tapping Remove Profile.
Turning off your VPN can help resolve slow internet speeds, app issues, or location-based service disruptions. Just keep in mind that disabling it removes the encryption and privacy protection it provides.
How to Turn Off VPN on iPhone (3 Ways)
How to Turn Off VPN Using iPhone Settings
Disabling a VPN on your iPhone is straightforward using the built-in Settings app. This approach works for VPNs set up directly through iOS settings or those that install a system-level VPN profile on your device.
Step 1: Open the Settings App
Start by locating the Settings app on your iPhone (it’s the gray icon with a gear symbol) and tap to open it.
Step 2: Navigate to the VPN Option
Look for the VPN option on the main Settings screen. If you don’t see it immediately, go to General > VPN & Device Management, and then select VPN. Here, you’ll see all the VPN profiles configured on your device, along with their current connection statuses.
Step 3: Disable the VPN
Within the VPN section, you’ll find a toggle switch. Slide it to the “Off” position. The switch will turn gray, and the status will update to Not Connected.
This method is specifically for VPNs configured through iOS settings. If you’re using a VPN activated via a third-party app, you’ll need to turn it off within that app instead.
To prevent the VPN from auto-reconnecting, tap the “i” next to a VPN profile and toggle off the Connect On Demand option.
For more comprehensive control, the next step is learning how to manage VPNs through third-party apps.
How to Turn Off VPN Through Third-Party Apps
If you’re using a VPN service managed through a dedicated app instead of the iOS settings, here’s how you can turn it off. The process is slightly different from disabling it through Settings.
Step 1: Open the VPN App
Find the VPN app on your iPhone’s Home screen or in the App Library and tap to open it. Most VPN apps have easily recognizable icons, so it shouldn’t be hard to locate.
Step 2: Disconnect the VPN
Once the app is open, look for the option to disconnect. Most third-party VPN apps make this feature easy to find on their main screen. You might see a disconnect button, a power icon, a toggle switch, or a stop button – it varies depending on the app.
Usually, the disconnect option is displayed prominently on the app’s main interface. Tap it to disable the VPN connection.
Important: If your VPN service includes a kill switch feature, it’s better to disconnect through the app rather than through iPhone Settings. This can help avoid potential internet access issues that might arise when the VPN is disabled from the system settings.
Step 3: Confirm the VPN Status
After disconnecting, double-check that the VPN is no longer active. You can verify this in several ways:
- Check the VPN app for a “Disconnected” status.
- Go to Settings > General > VPN & Device Management to confirm it says “Not Connected.”
- Use an IP address website to confirm your device is showing your actual ISP-assigned IP address.
In October 2022, VPN Tracker noted that their VPN Widget options provide a live status overview of VPN connections directly on the iPhone’s Lock Screen and Home Screen. This feature allows users to see at a glance whether their VPN is active and which connection is in use. It supports up to 6 VPN connections on the Home Screen and up to 3 on the Lock Screen.
If your VPN app doesn’t include a built-in disconnect option, you may need to explore other methods, like deleting the VPN profile. These steps are covered in the next section.
sbb-itb-e1a0769
How to Delete a VPN Profile from Your iPhone
There are times when you might want to completely remove a VPN profile from your iPhone – maybe you’re no longer using a specific service, or you just want to tidy up unused configurations. Deleting a VPN profile erases all its settings and credentials, so it’s a permanent step. Here’s how to do it:
Step 1: Locate Your VPN Profiles
Start by opening the Settings app on your iPhone. From there, tap on General to access system settings.
Scroll down in the General menu and look for VPN & Device Management. This is where all VPN configurations and management profiles are stored. Tap VPN to view the list of VPN profiles currently set up on your device. Here, you’ll see every VPN service you’ve added, whether it’s active or not.
Step 2: Remove the VPN Profile
Once in the VPN section, you’ll see a list of profiles. Each one corresponds to a different VPN service or configuration. Select the specific profile you want to delete.
On the profile details screen, look for the Remove Profile option – usually located at the bottom. Tap on it.
At this point, your iPhone may ask you to authenticate the action using your passcode, Touch ID, or Face ID. This step ensures that only authorized users can make changes to the VPN settings.
Step 3: Confirm the Deletion
When prompted, enter your passcode and confirm the removal. If you’ve second thoughts, this is your last chance to cancel. Tap Remove or Delete to finalize the process.
Once confirmed, the VPN profile will be permanently deleted. This means all settings, server details, and credentials for that VPN will be cleared from your iPhone. Removing a VPN profile can also help resolve configuration issues if the service wasn’t working as expected.
A Quick Reminder on Security: Deleting a VPN profile means your internet traffic will no longer be encrypted through that service. Without a VPN, your ISP can monitor your online activity, and websites will see your actual IP address.
“When you disable your VPN, all of your internet traffic becomes visible to your ISP. The websites you visit also see your real IP address, which is tied to your physical location. And if you’re on public Wi-Fi, hackers connected to the same network can see and even steal your online data.” – Aliza Vigderman, Senior Editor & Gabe Turner, Chief Editor, security.org
If you rely on a VPN for privacy and security, make sure you have another VPN app ready and configured before removing your current profile. This way, you can maintain continuous protection for your online activities.
Fixing Common Problems When Turning Off VPN
Turning off your VPN should be simple, but sometimes it can turn into a bit of a challenge. Whether the toggle is grayed out, the VPN keeps reconnecting, or you’re unable to remove a profile, these issues can be frustrating. Here’s how to handle the most common problems iPhone users face.
VPN Toggle Disabled in Settings
If the VPN toggle is grayed out and unresponsive, it’s likely due to device management restrictions. This often happens when your iPhone is managed by an organization or has a configuration profile controlling the VPN settings.
To check this, go to Settings > General > VPN & Device Management. If you see any profiles listed under “Configuration Profiles”, they may be limiting your ability to turn off the VPN. You’ll need to contact your IT administrator to adjust or remove these restrictions.
If no profiles are listed but the toggle remains disabled, try restarting your iPhone or resetting the network settings. To reset network settings, follow these steps: Settings > General > Transfer or Reset iPhone > Reset > Reset Network Settings. Keep in mind that this will erase all saved Wi-Fi passwords, so you’ll need to re-enter them.
VPN Keeps Reconnecting Automatically
Sometimes, even after turning off the VPN, it reconnects on its own. This happens because of auto-connect settings designed to protect your privacy. While useful in many cases, it can be a hassle when you want the VPN to stay off.
To fix this, disable auto-connect settings in both iOS and your VPN app. For iOS configurations, go to Settings > General > VPN & Device Management > VPN, select your active profile, and turn off “Connect On Demand.”
In third-party VPN apps, look for options like “Auto-Connect”, “Connect on Untrusted Networks”, or “Kill Switch” in the app’s settings and turn them off. If you’ve installed multiple VPN apps, don’t forget to disable these settings in all of them – sometimes forgotten apps can cause unexpected reconnections.
Cannot Remove a VPN Profile
If you’re unable to delete a VPN profile, it might be because the profile is active or protected by system restrictions. Start by making sure the VPN is not connected. Go to Settings > VPN and confirm it says “Not Connected.”
Next, close the Settings app completely by double-tapping the home button (or swiping up from the bottom) and swiping up on the app. Restart your iPhone by powering it off, waiting 30 seconds, and turning it back on. This can clear any temporary glitches.
If the profile was installed by an organization, you might see a message asking for a “removal passcode.” In this case, you’ll need to contact the IT department or whoever installed the profile. For profiles that still won’t delete, resetting the network settings can help. Follow the steps: Settings > General > Transfer or Reset iPhone > Reset > Reset Network Settings. Be aware that this will erase all network configurations, including Wi-Fi passwords.
If none of these steps work, reach out to your VPN provider’s support team. They often have specific tools or instructions for removing stubborn profiles. These solutions should help you regain control without disrupting your device’s other configurations.
Conclusion: Key Points to Keep in Mind
Managing VPN settings on your iPhone becomes much simpler once you know the steps involved.
Turning off your VPN gives you control over your internet connection. Whether you’re temporarily disabling it to troubleshoot slow speeds or access location-based services like maps or food delivery, or you’re looking to permanently remove an unused VPN profile, the process is easy when you know where to navigate.
For built-in profiles, the Settings app is your go-to. For third-party services, rely on the specific VPN app. Be aware that auto-reconnect features might override manual disconnections. To avoid this, make sure to disable auto-reconnect in either iOS settings or your VPN app.
If you encounter grayed-out toggles or issues deleting profiles, it’s often due to device management restrictions or active connections still running in the background.
FAQs
Why might I need to turn off my VPN on an iPhone, and what risks should I be aware of?
If you’re using a VPN on your iPhone, there might be situations where you need to turn it off. This could be due to troubleshooting connection issues, accessing services that are restricted to specific locations, conserving battery life, or fixing problems with apps that struggle to function properly while a VPN is active.
That said, turning off your VPN does come with some risks. Without it, your IP address and location become visible, your online activity may no longer remain private, and your data could be at greater risk – especially when you’re connected to public Wi-Fi. Weigh these risks carefully before deciding to disable your VPN.
How can I stop my VPN from reconnecting automatically after turning it off?
To stop your VPN from reconnecting automatically, head to Settings > General > VPN & Device Management, choose your VPN configuration, and switch off Connect On Demand. This ensures the VPN won’t reconnect unless you manually turn it back on.
If you’re using iCloud Private Relay, you can disable it by going to Settings > [Your Name] > iCloud > Private Relay. Alternatively, restarting your phone or resetting your network settings (Settings > General > Reset > Reset Network Settings) might resolve issues. Just remember, resetting network settings will erase your saved Wi-Fi networks and passwords.
What can I do if I can’t remove a VPN profile from my iPhone due to restrictions or technical problems?
If you’re struggling to remove a VPN profile from your iPhone, there are a few things you can try to fix the issue. Start by disabling Private Relay in your Settings, then restart your device to see if that solves the problem. Sometimes, a quick reset is all it takes.
If the issue continues, you can reset your Network Settings. To do this, navigate to Settings > General > Transfer or Reset iPhone > Reset > Reset Network Settings. Be aware that this will erase all saved Wi-Fi networks and passwords, so you’ll need to reconnect to your Wi-Fi manually afterward.
Still no luck? Check if restrictions are enabled on your device. Go to Settings > Screen Time > Content & Privacy Restrictions. If restrictions are turned on, disabling them might let you remove the VPN profile without further trouble.